Essential Equipment for Your Home Recording Studio: A Comprehensive Guide

Introduction
As an aspiring singer-songwriter, I've always been passionate about creating music that resonates with my audience. Not only do the lyrics and melodies need to convey a message and emotion that listeners can relate to, but the song itself needs to be recorded and produced in a professional sounding way. Renting a studio isn’t always cost-effective for up-and-coming artists like me, but fortunately the power of technology has made it possible for us to record vocals right from the comfort of our homes.
I’ve worked with producer and audio engineer Gil Kline of Sound Beet Recording on several of my records, including “I’d Stay”, “Monster in My Mind”, and a new track due out soon called “I Wasn’t You”. My musical journey would not have even gotten off the ground without Gil’s trusted expertise early on. Gil developed a personal guide to help me set up my home studio for recording vocals and now I want to share it with you!
In this blog post, I'll share the invaluable advice and insights Gil provided on what equipment would be needed to successfully set up the studio. In a subsequent post, I’ll share Gil’s tips and tricks on how to configure the studio for optimal vocal recording.
Special note: AnnahMarcelle.com is not affiliated with any products or brands mentioned in this article. My aim is to provide unbiased information to help fellow artists make informed choices for their home recording studios. I do not receive any commissions or compensation for featuring any products listed in this article.
Materials Needed for Vocal Recording
Personal Computer
A modern computer is your most trusty companion in the world of digital music production. When recording, I personally use a MacBook Pro because I’m most familiar with Apple DAWs like GarageBand and Logic Pro.
Recording Software
Choose from popular Digital Audio Workstation (DAW) options like Garageband, Logic Pro X, Studio One, Reaper, or Pro Tools. Because of the steep learning curve associated with each product, choosing the right DAW for you is a big decision and goes beyond the scope of this article. Here’s a good blog post on LANDR where you can research the best DAW options and make an informed choice.
Audio Interface with Built-In Pre-Amps
This essential hardware connects your microphone to your computer via USB or Thunderbolt. It converts analog signals into digital data that your computer can understand. While many computers have built-in interfaces and pre-amps, they may not deliver professional-quality results. Budget-friendly options include:
- Focusrite Scarlett 2i2 3rd Gen ($167.17 on Amazon)
- PreSonus AudioBox iTwo 2x2 ($89.99 on Amazon)
- Solid State Logic SSL 2 ($179.99 at Guitar Center)
The best audio interface for my use case and budget ended up being the Focusrite Scarlett 2i2 and have found it to be easy and reliable.

Microphone Cable (XLR Cable Male to Female)
Use this cable to connect your microphone to the pre-amp. Here are two cost effective options:
- Pro Co StageMASTER XLR Microphone Cable 30 ft. (available for $29.95 at Guitar Center)
- Monster Cable Prolink Classic Microphone Cable 20 ft. ($39.99 at Guitar Center)
Gil and I both use these cables in our own studios and they are fantastic! The Monster is a more durable cable and is known to be built with better components.
Wired Headphones with ¼ inch Input
Opt for headphones that minimize sound bleed, ensuring the audio is only audible to the person wearing them. Below are two sets that Gil recommended to me. I ended up going with the Sony headphones and have not been disappointed!
Sony MDR7506 Professional Large Diaphragm Headphone: These are the headphones that Gil uses in his studio. He’s used these for countless sessions over the past years and says they are a great bang for the buck! Available on Amazon for $76.99.
Audio-Technica ATH-M30x Professional Studio Monitor Headphones: Although he doesn’t own a pair of these personally, Gil says that Audio Technica has a solid reputation in the audio community and these should get the job done for a little bit less cost than the Sony set. You can get these on Amazon for $69.99.
Wide Diaphragm Condenser Microphone with Shock Mount
For me, upgrading from a standard USB microphone to a wide diaphragm condenser mic really made a huge difference in vocal recording quality. I can't emphasize enough how important it is to use a good quality microphone. Below are Gil's suggestions for great budget-friendly microphones! All of these are wide diaphragm condenser microphones and will work really well for vocal recording because they are great at capturing all the wonderful sonic qualities of the human voice:
- Audio-Technica AT2020 (just $99 on Amazon Prime, standard price is $169)
- Lewitt LCT 240 Pro Large Diaphragm Cardioid Condenser Microphone ($99 on Reverb, down $50 from $149)
- Lewitt LCT 440 PURE Large-Diaphragm Condenser Microphone (currently $289 on Reverb)
- Rode NT1-A Large-Diaphragm Condenser Microphone (available on Sweetwater for $249)
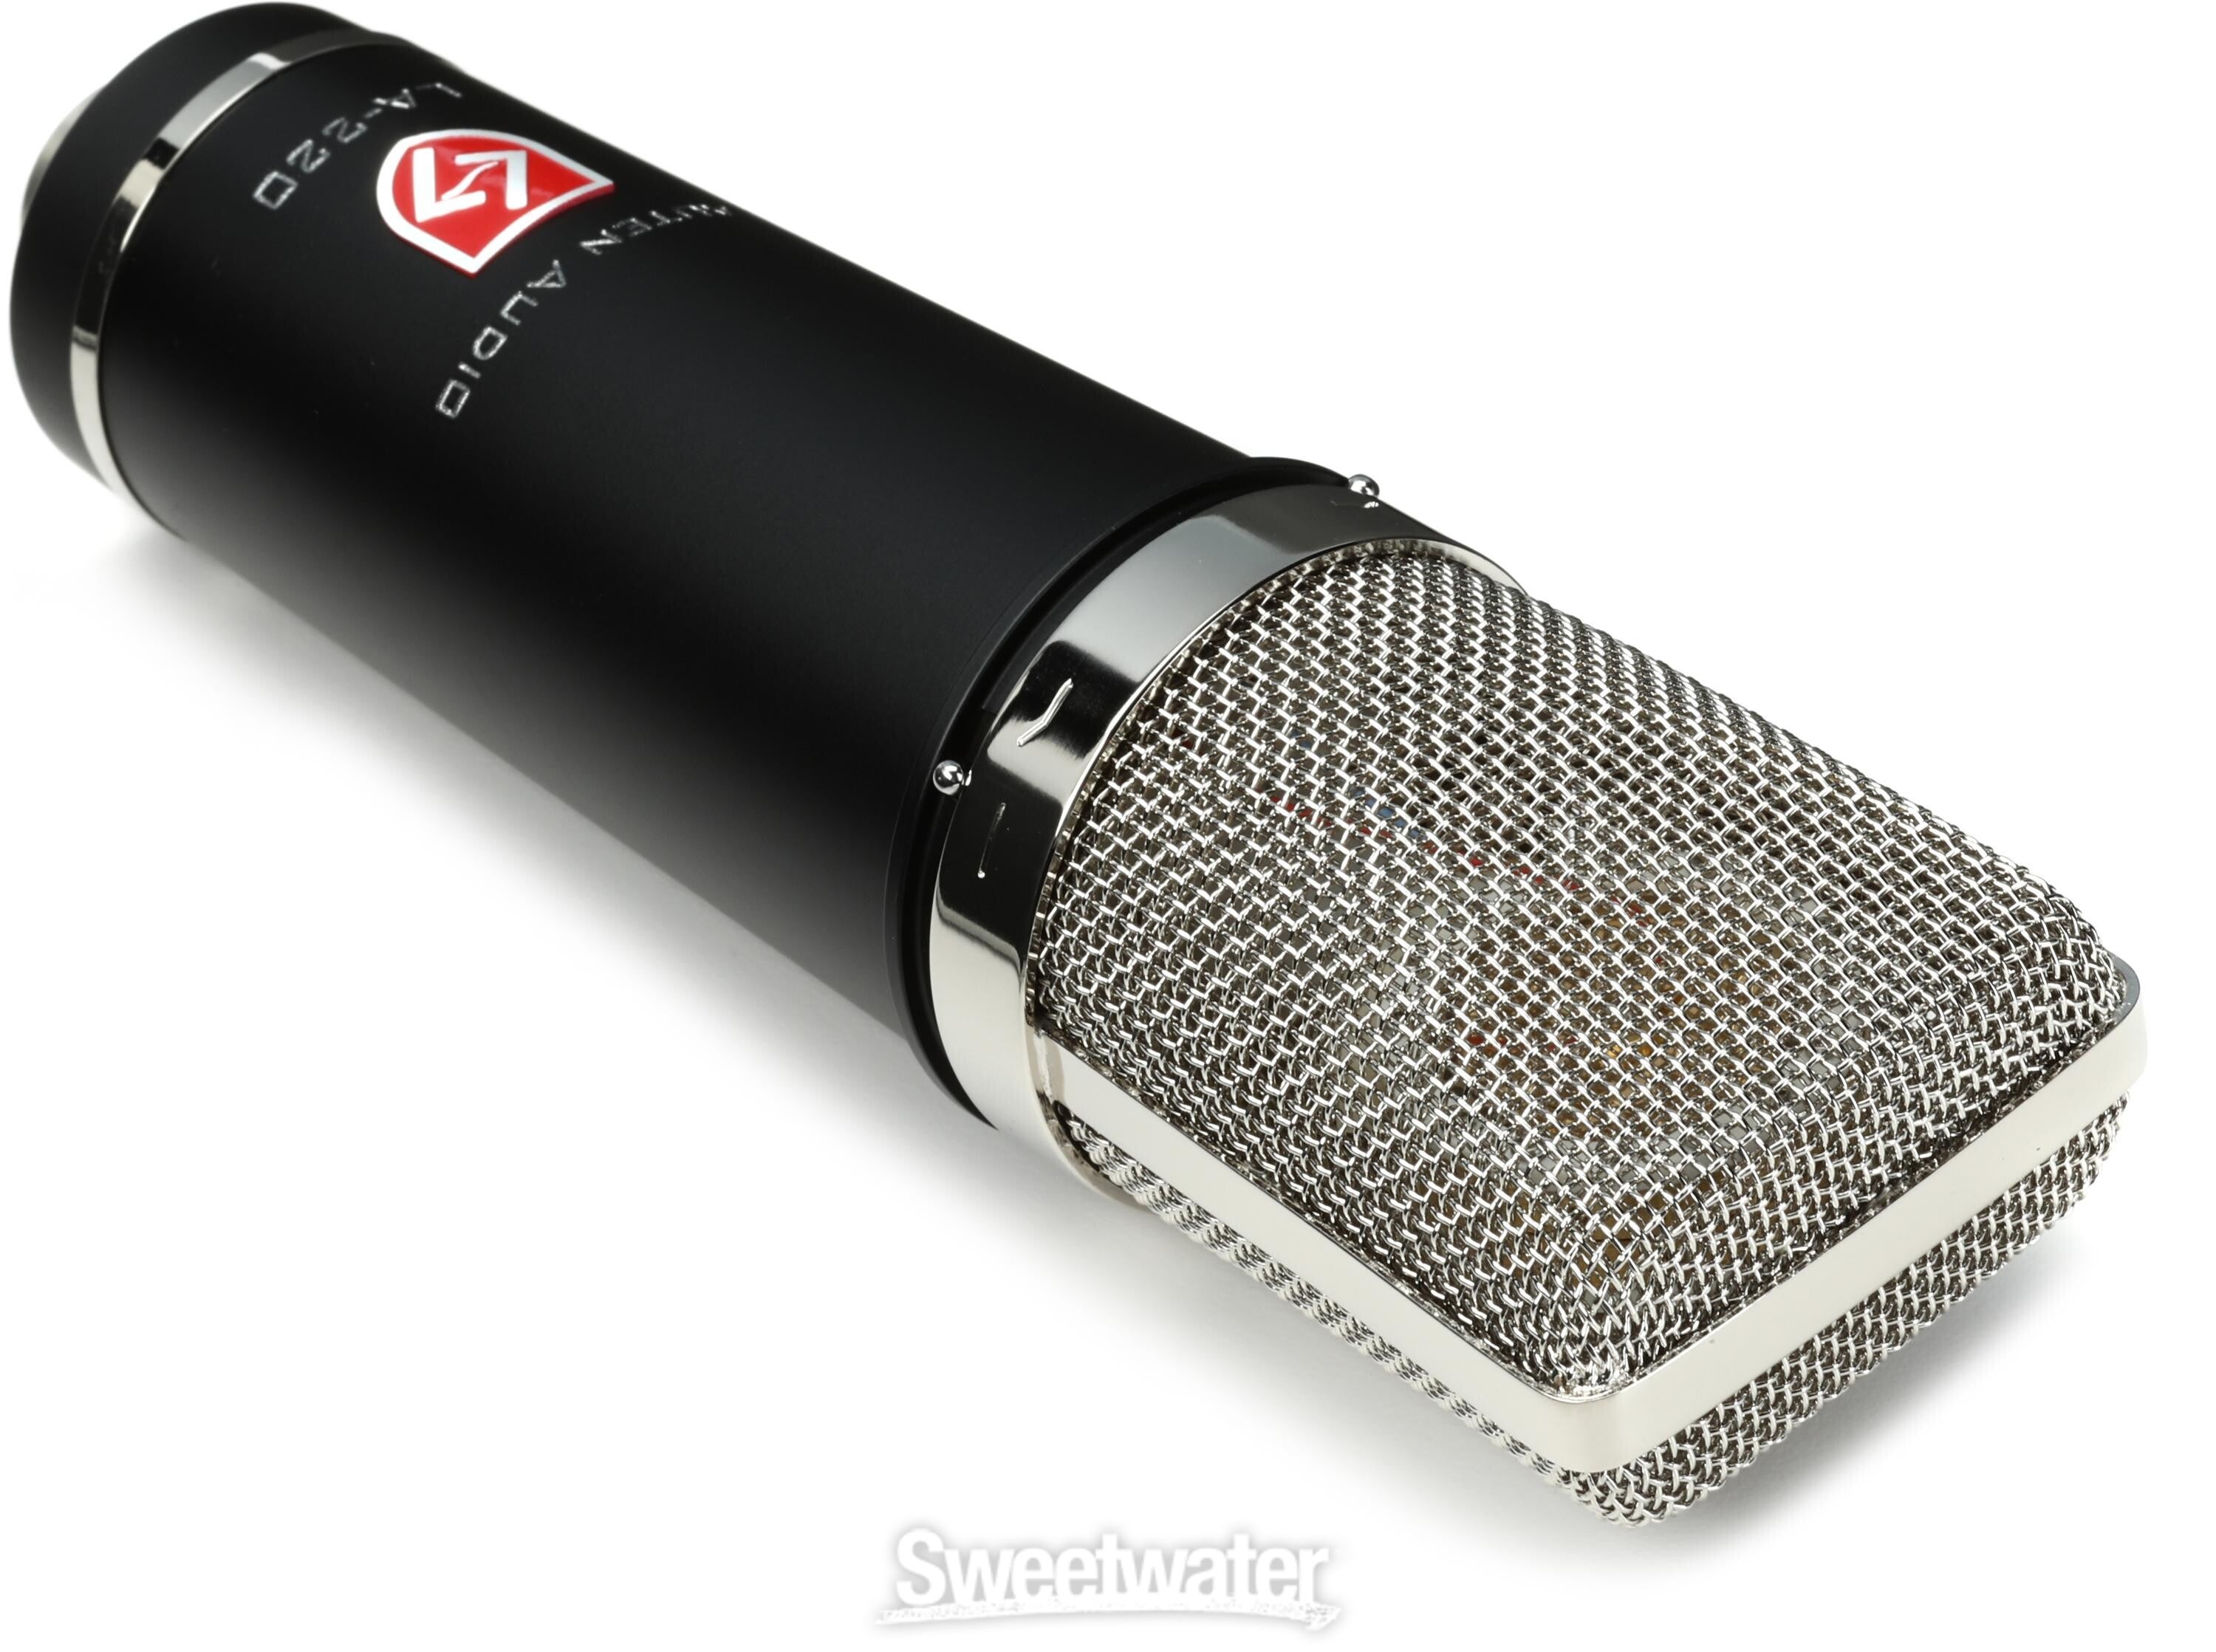
- Lauten Audio LA-220 V2 Large-Diaphragm Condenser Microphone (V2 available on Sweetwater for $359). You can sometimes find this mic for $299 on Amazon.
- Blue Microphones Bluebird SL Large-diaphragm Condenser Microphone (available on Sweetwater for $299)
While all of these mics were recommended by Gil, he told me that the best condenser microphones where the Lewitt and Lauten Audio mics. These companies make some pretty amazing microphones under $400. I ended up going with the Lauten Audio Black LA-220 and that’s what I used to record some of my favorite original songs including “Street of Lies”, "Lookalike", and “Running in Circles”.

Pop Filter (Pop Shield)
This small device helps reduce "plosives" or bursts of low-end sound created when pronouncing words with "b" or "p" sounds. An affordable ($16.99) option is the Auphonix Pop Filter Screen for Microphones.
Tripod Microphone Stand
A solid stand ensures stability during recording sessions. The main difference between the more and less expensive mic stands is durability. Below are two options to choose from. Gil says the DR Pro will not wear down as quickly as the Musicians gear stand, but he’s used both over the years and both will absolutely get the job done.
- Musician's Gear MG100B Tripod Boom Microphone Stand ($25.99 at Guitar Center)
- DR Pro Tripod Mic Stand with Telescoping Boom (currently $84.99 at Guitar Center, but I got mine on sale for $49.99)
Conclusion
Aside from the cost of the computer and recording software, you should be able to acquire everything you need for a home recording studio for under $1,000. Setting up a professional-grade recording environment is within reach for any aspiring artist. With this equipment now in place, you can start to bring your music to life from the comfort of your own home. In my next post, I’ll be sharing Gil’s tips on how to get your studio set up and configured for optimum sound quality.
Until then, be sure to check out Gil Kline's production and audio-engineering services at Sound Beet Recording.

